
In this tutorial I will tell you the basics of wet felting with minimal equipment.
Firstly, what on earth is wet felting I hear you ask?
Well, it’s the process of creating a piece of material felt typically from wool roving (or other fibres like alpaca fleece, silks and Angelina fibres) using friction and soapy water.
If you have long or curly hair and haven’t brushed it for a day, you’ll know it can matt super easily especially if you’ve had to skip the conditioner – well, with wet felting, that’s kind of the process we want to achieve.
You could go out of your way to spend all money on the wet felting ‘essentials‘ like pool noodles, rollers, fulling blocks and bamboo mats, but they aren’t actually a necessity and honestly, apart from the fibres, you most likely already have everything you need in your home.
So, to create a piece of roughly A4 sized felt you will need:
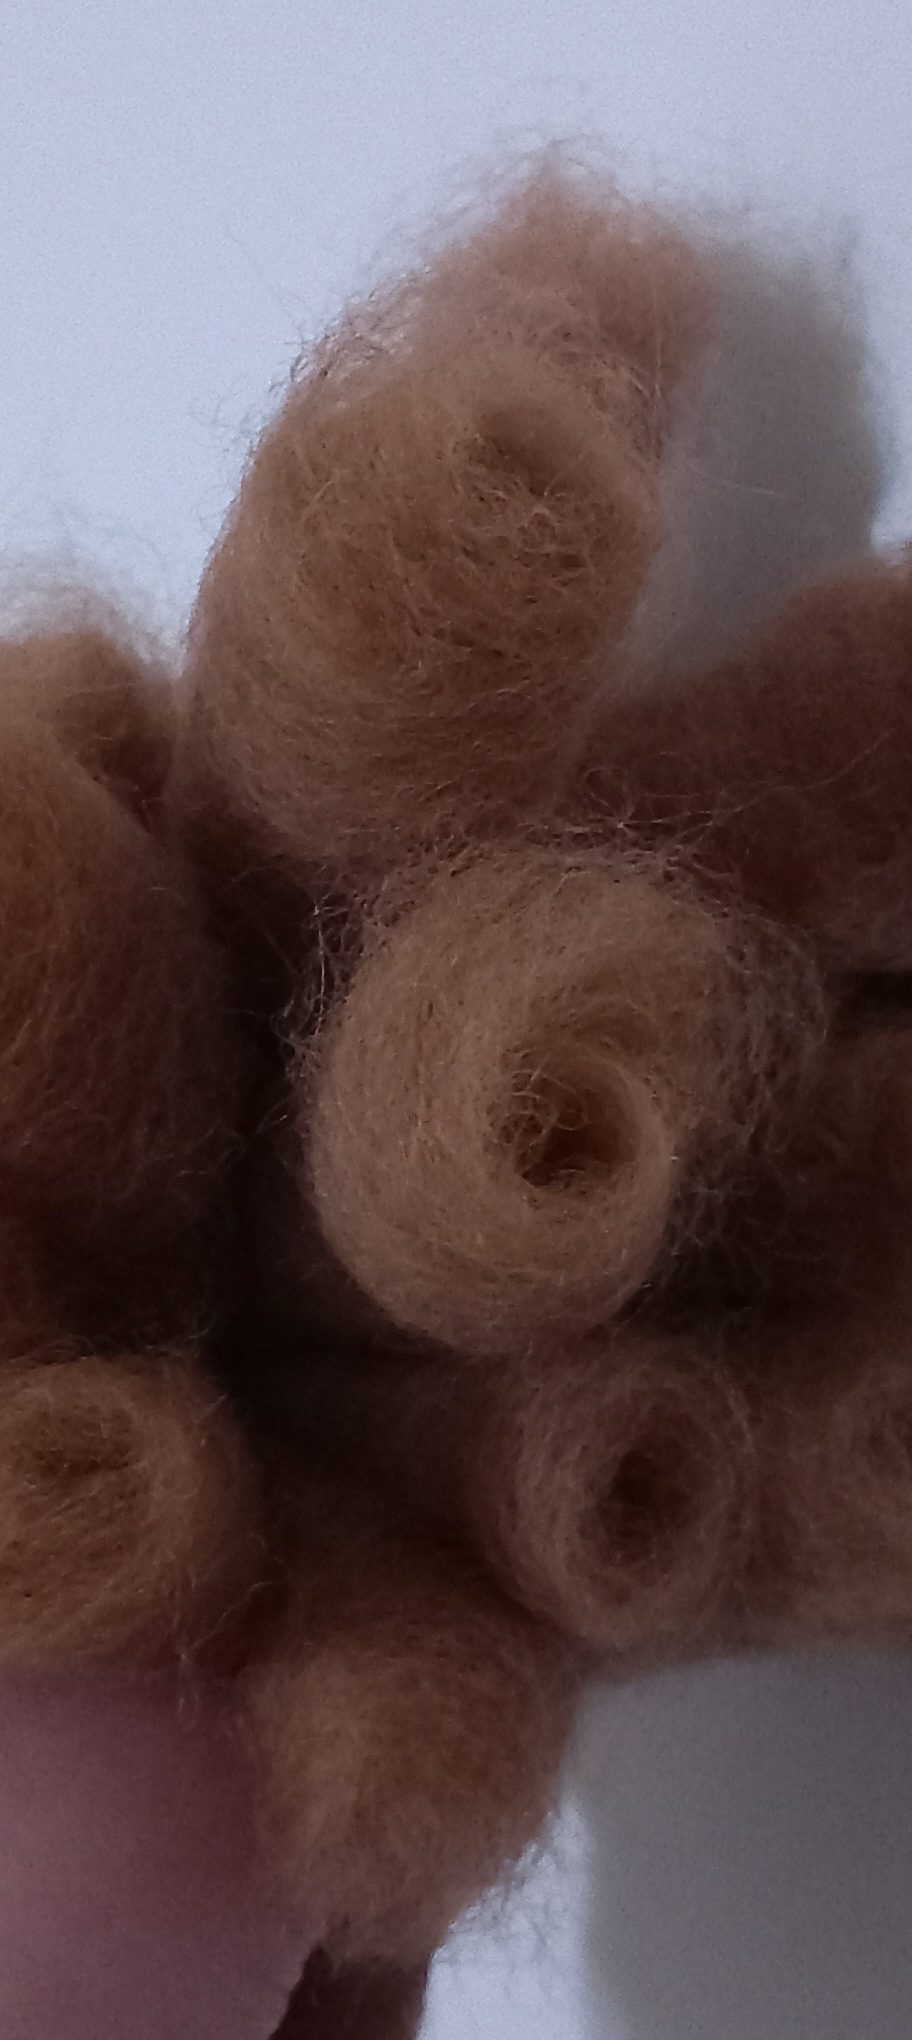
- A handful of different roving colours of your choice.
- Hot and cold water.
- A few drops of dish soap (I use fairy liquid because it’s what we already have) but basically any soap that creates suds will work, I know of people using olive oil hand soaps for example.
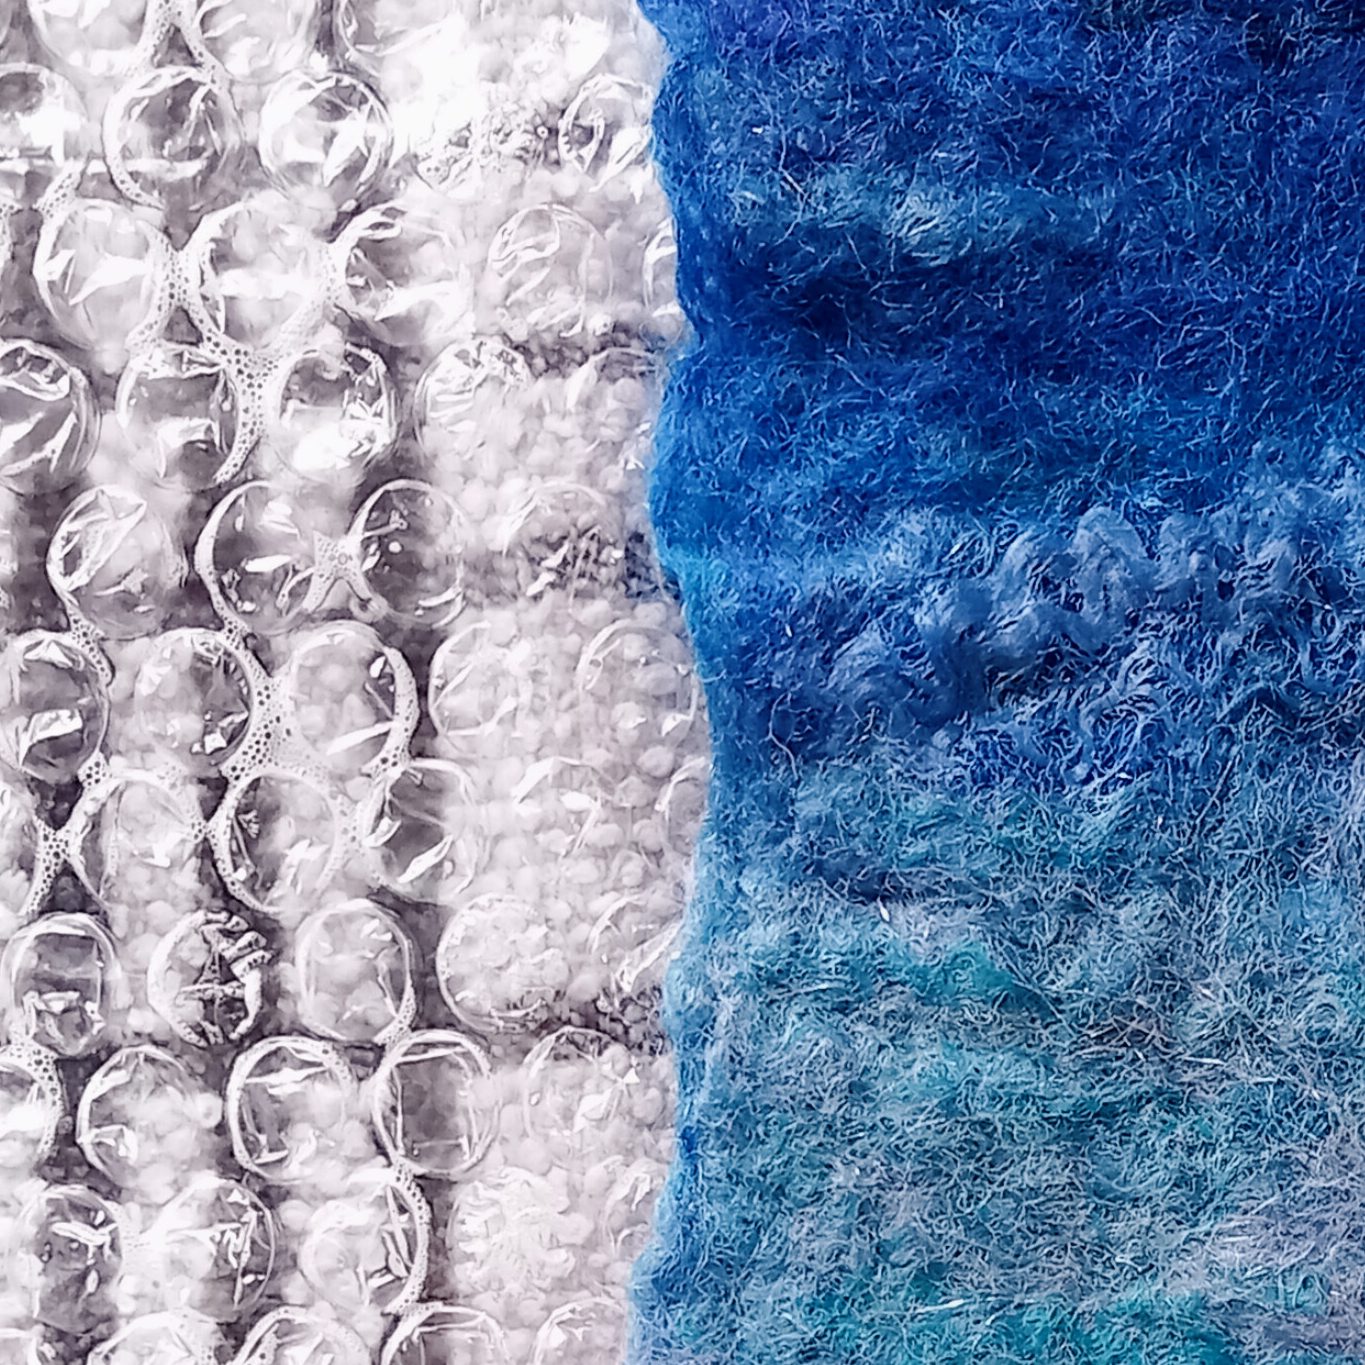
- A piece of bubble wrap. This needs to be bigger than two pages of A4. If you don’t have a piece that is that big, you can still try this on a smaller scale, just know that your final piece will turn out smaller than half the size of your piece of bubble wrap.
- An old towel or a couple of old kitchen tea towels.

Soaping the Bubble Wrap
Firstly, lay out your bubble wrap (bubble side up) on a flat surface where you don’t mind it getting a bit wet, a kitchen counter is perfect.
Put a few drops of soap on the bubble wrap and add a small amount of hot water before smearing it around the bubble wrap.
Pulling the Roving
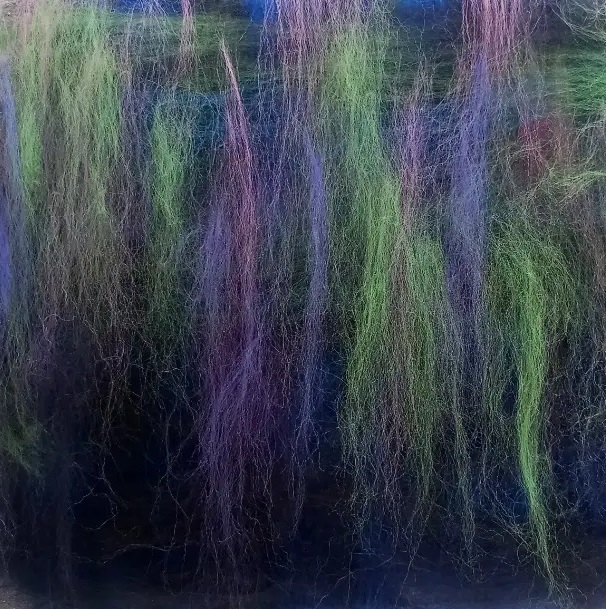
Next, dry your hands (wet hands and roving don’t mix unless you want a new Chewbacca costume) and take a look at your roving. The way in which you layer your colours will impact how your final piece looks. I find it easier to start by thinking of the first few layers placed down as the ‘back’ of the felt and the last layer(s) will be your pattern or artwork. I would start by thinking what is the overall theme, and what colour will suit that best, alternatively, you can use white for your first few base layers.
Whatever you choose, know that this colour will be less noticeable on the front of your felt if at all visible depending on how many layers of base or pattern/colour you do.
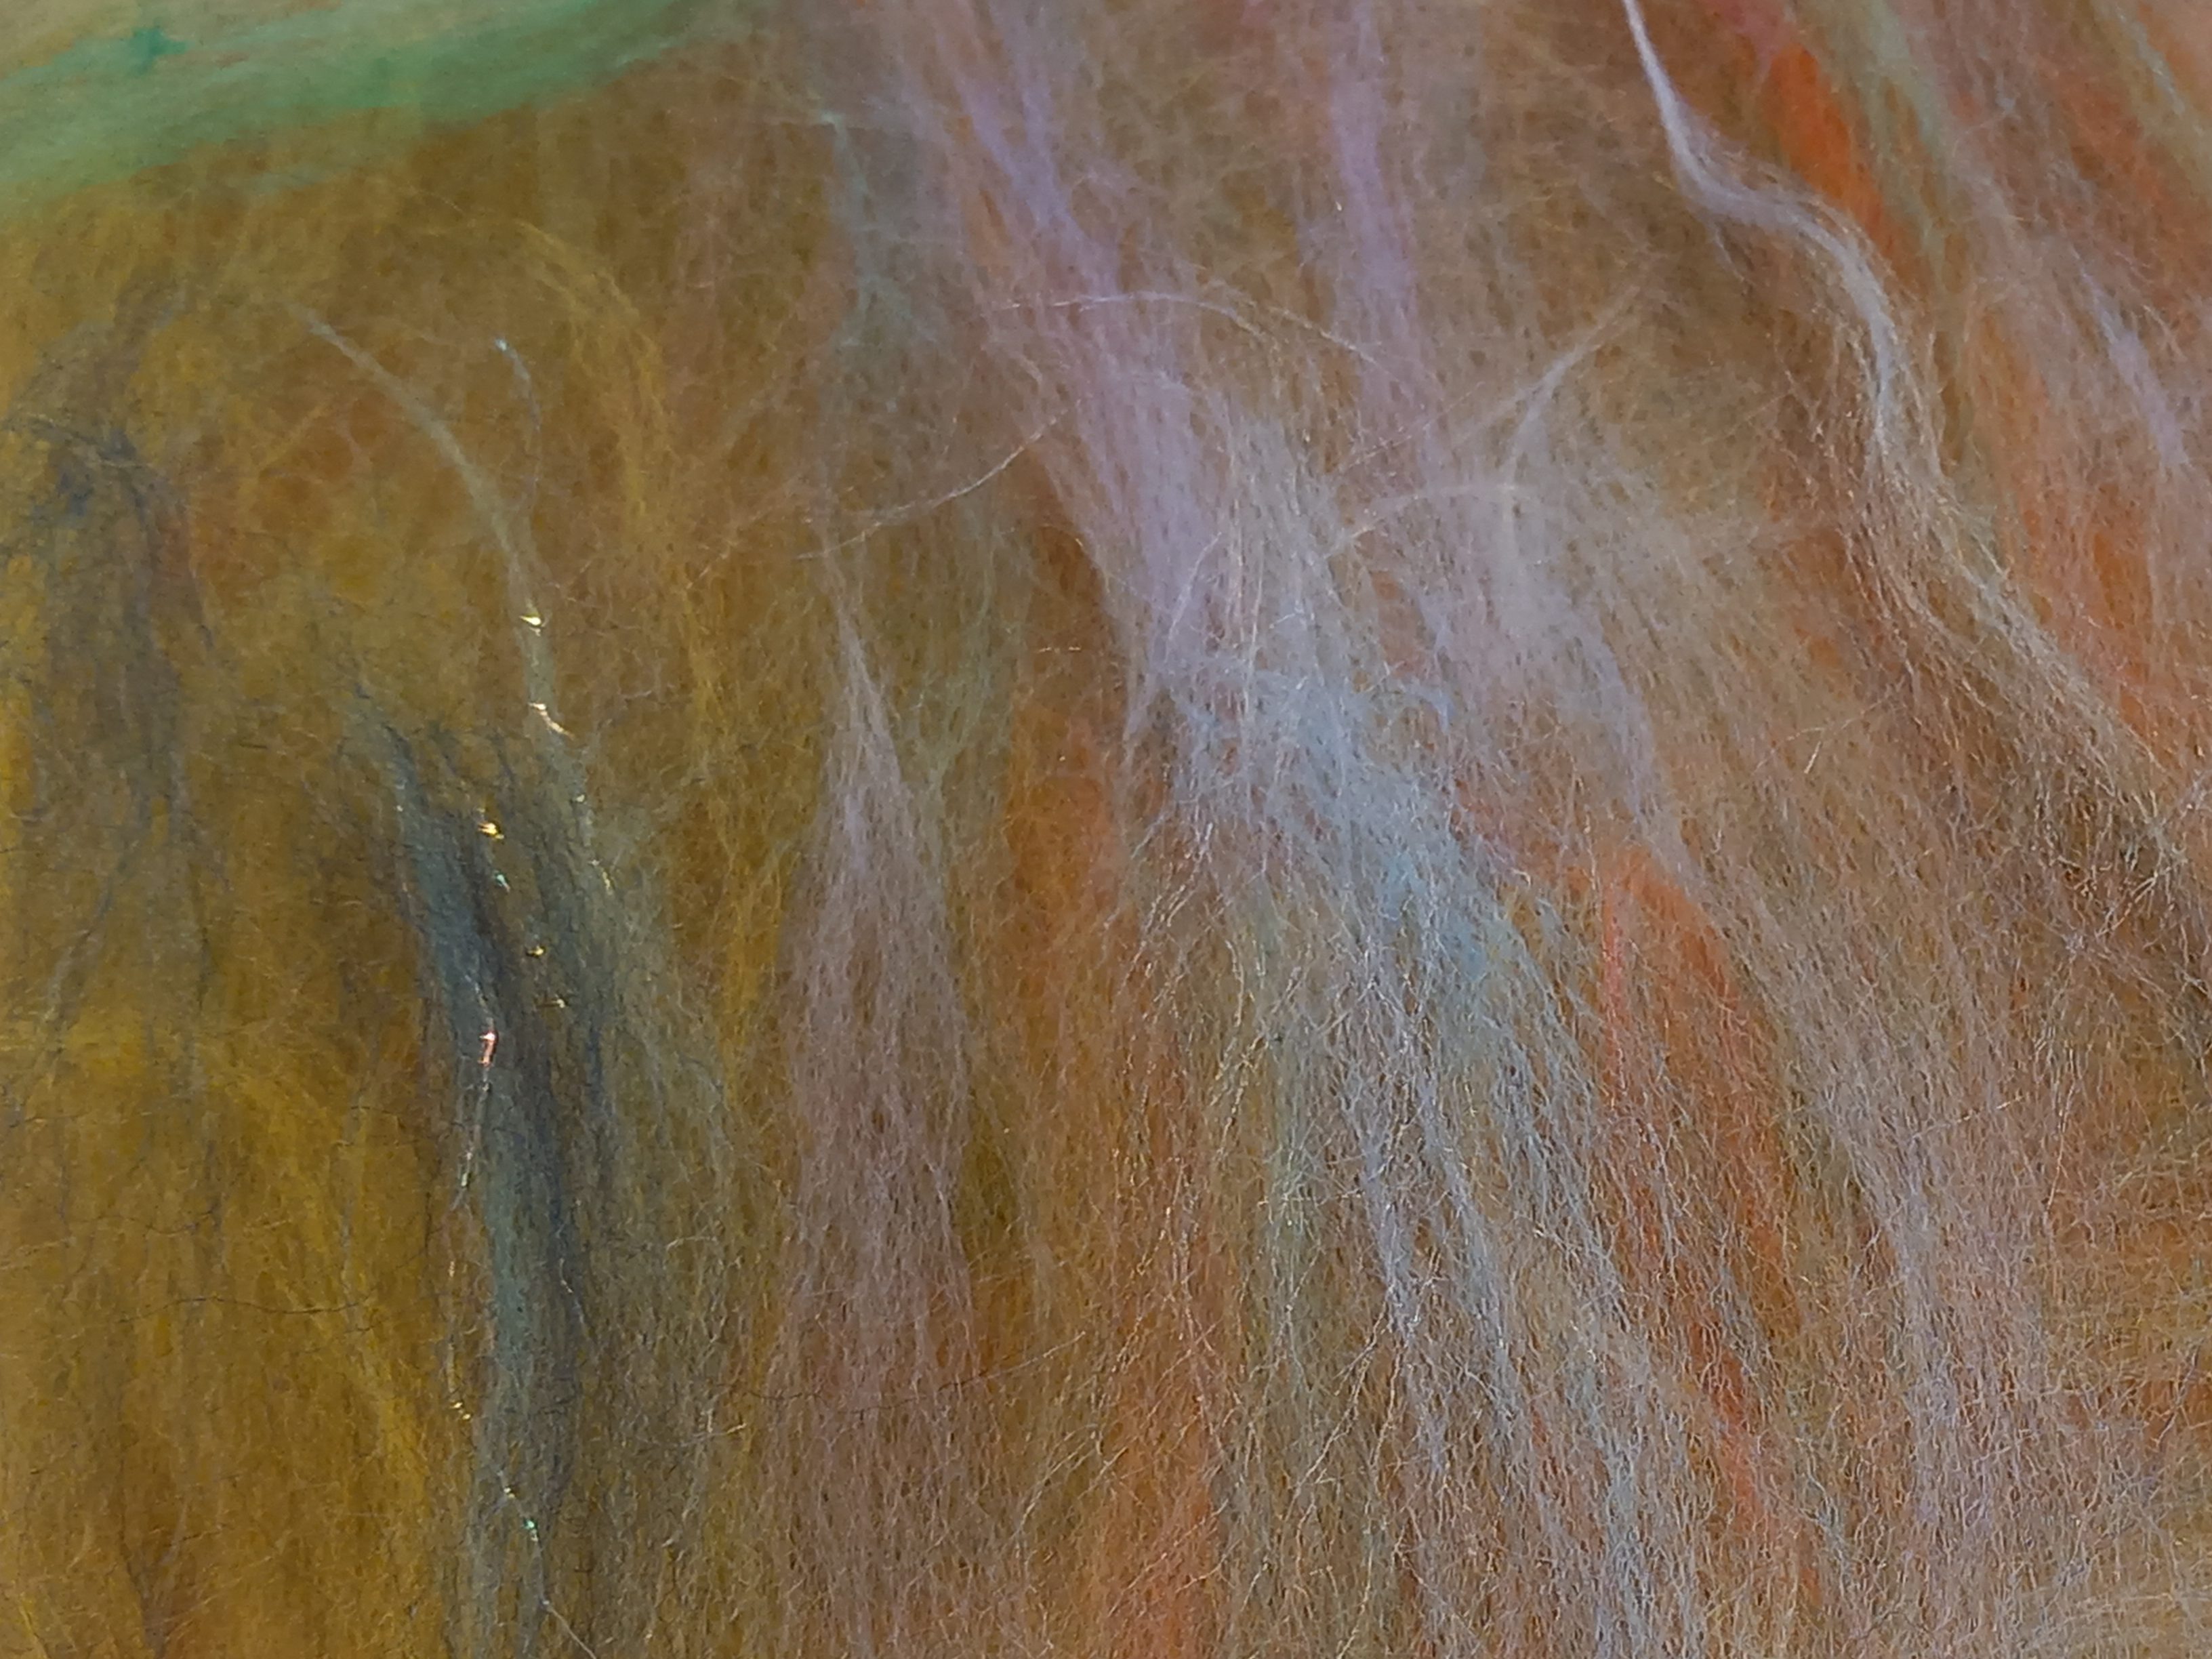
Now, let’s also take a look at how to hold the roving and pull strips properly to create your layers. It sounds a bit daft, but the way you hold and pull your roving apart can have an impact on if your felting process works. You don’t want to be pulling out thick or pointed clumps as they won’t do well at matting together, and if you pull too sparsely, the fibres will struggle to felt. So, the best way I’ve found is to use your dominant hand to pull the fibres and your non dominant hand to grasp the roving.
I’m right-handed, so I would use my left hand to grasp the roving about 3 inches from the end, you want to hold it firmly, but not too tight that you won’t manage to pull anything from it at all.
Then I would take my left hand and spread out the end fibres of the roving a little so it looks even across the top and is about the width of my palm.
Next, I place my palm across the front-top of the roving whilst my fingers cover the back-top of the roving before gripping it by pressing my four fingers flat against my palm. Gently tease the fibres apart and you should end up with a palms width amount of fibres that is even in thickness, slightly wispy in appearance (not a clump that you can’t see through), and not too thin that you can’t fully distinguish if you’re holding anything.
Repeat this for each pull, it seems a bit tedious at first but the more you do it, it will become natural.


Laying the Roving
Start by carefully laying down these pulled fibres on one side of your bubble wrap that all face the same direction (remember the bubble wrap will be folded in half over the length of your fibres so don’t fill the entire sheet of bubble wrap with fibres, you should be aiming to fill slightly less than half the bubble wrap sheet with at least half an inch gap of space around the fibres to the edge to avoid accidentally felting overhanging fibres to your towel later).
As you lay down each pull of fibres, slightly overlap them to make sure you don’t have gaps.
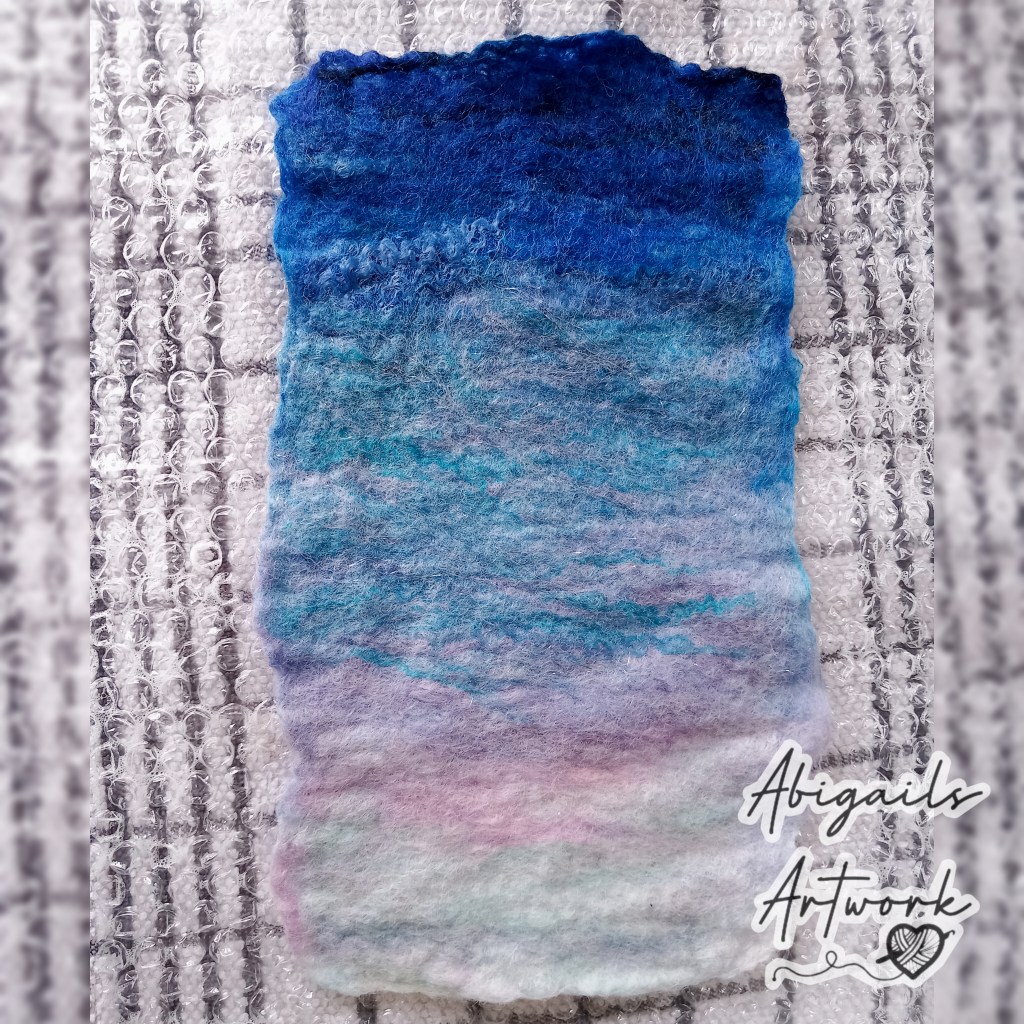
Once you’ve completed one layer, continue to pull and lay the fibres across the ones you’ve just laid but in a perpendicular direction and continue this process of alternating directions for about 4 layers (for example lay the first layer of fibres landscape, second layer portrait, third layer landscape, fourth layer portrait) when you get to your fifth layer, this is the start of one of your visible layers.
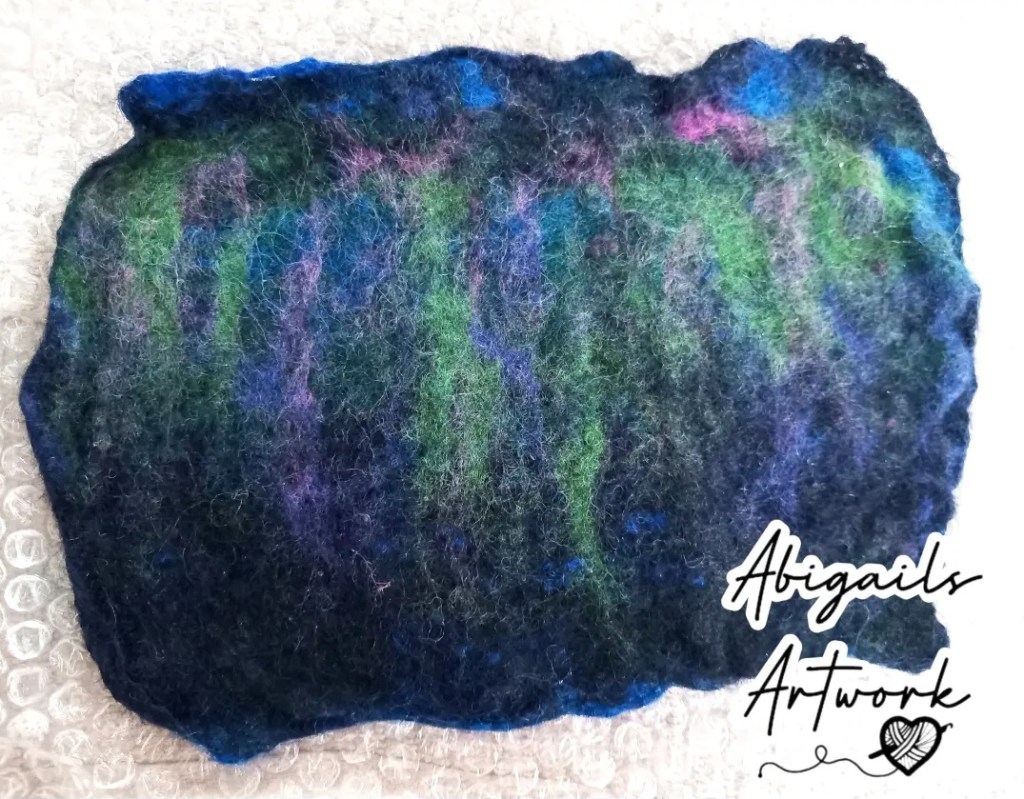
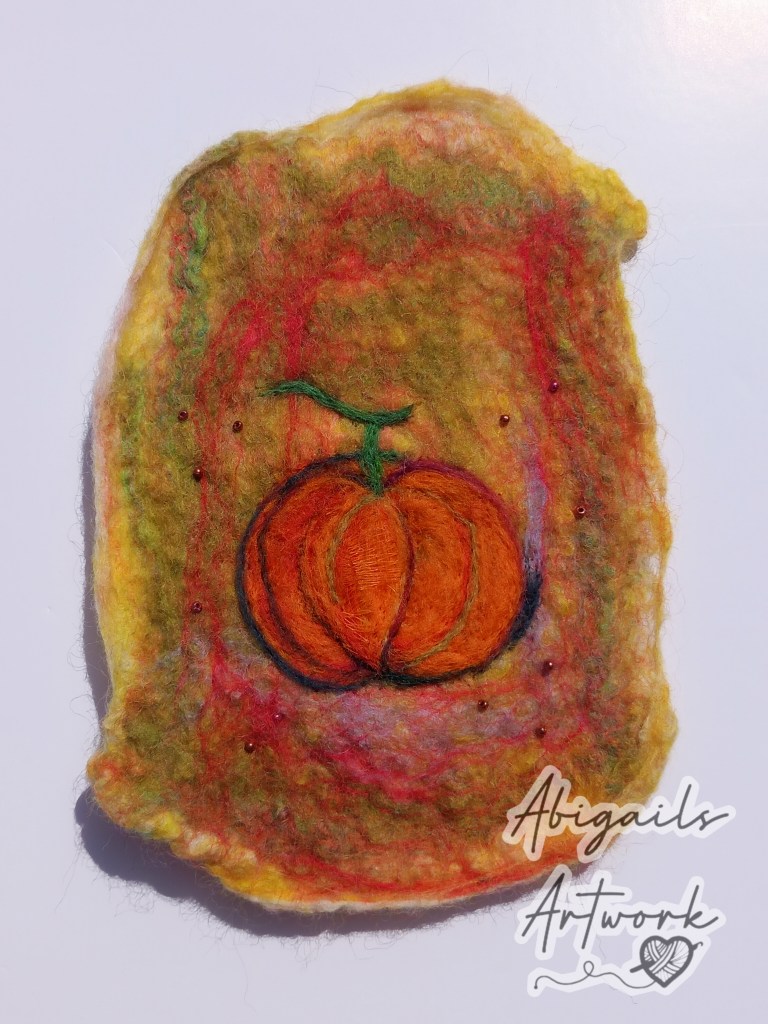
Pattern, Colour and Designs
On the fifth layer, you can create patterns or pictures with small pieces of different colour roving. Remember to use pieces that aren’t too thick otherwise you will find that they won’t felt to the other layers. Try to lay them in a way were they aren’t all laying in the same direction otherwise your design may not felt how you’d like it to.
Once you are happy with your design (it will look like a very tall stack of crosshatched fluff at this point!) Then go ahead and gently drip some hot soapy water onto the surface, you don’t need to saturate the fibres completely but I always use a little bit of water to gently help “flatten” the pile down a bit in the middle and a little in each corner. Try not to touch the fibres with your hands at this point.


Roll and Repeat
Bring the other half of the bubble wrap over the fibres you’ve laid to cover it completely and gently press it all down together. At this stage, you don’t want to lift and relay the bubble wrap unless you want wet fluff everywhere so just ensure that you have enough bubble wrap to cover the front of your piece and it’s relatively even all the way around.
Now for the next part, I prefer to use two kitchen tea towels but an old bath towel or hand towel will work just fine. You want to lay your bubble wrapped roving flat on top of your towel and starting from the closed end of the bubble wrap, slowly roll them up together (like you’re building a Swiss roll cake) Take note of what direction the bubble wrap is being rolled because you’re going to need to turn it later on.
Once it’s rolled up nice and tight, go ahead and roll your fluff and bubble filled towel on the work surface. You want to really go at the rolling, you don’t need to press down immensely, but the amount of rolling you do should be a fairly good amount. The rolling you’re doing is creating a lovely soapy friction inside the wrap to get all those fibres matted together stronger than Velcro. I’d give it at least 50 full rolls (one rotation away from you and back again but x50). Then, unroll your soapy cocoon of bubble wrap from the towel, turn it 90 degrees and lay it back inside the towel (if it was portrait, lay it landscape and vice-versa). Then, roll it back up in the towel and start rolling it again for another 50 times. Keep repeating this step with alternating directions until you’ve done at least four sets of 50 (so you will end up rolling at least 200 times roughly) the reason you should switch after around 50 rolls is so your piece doesn’t shrink too much in one direction.
You can also check between each set of 50 rolls to see the progress of the felt, but I would recommend being delicate if you’re checking especially if you have an intricate design.
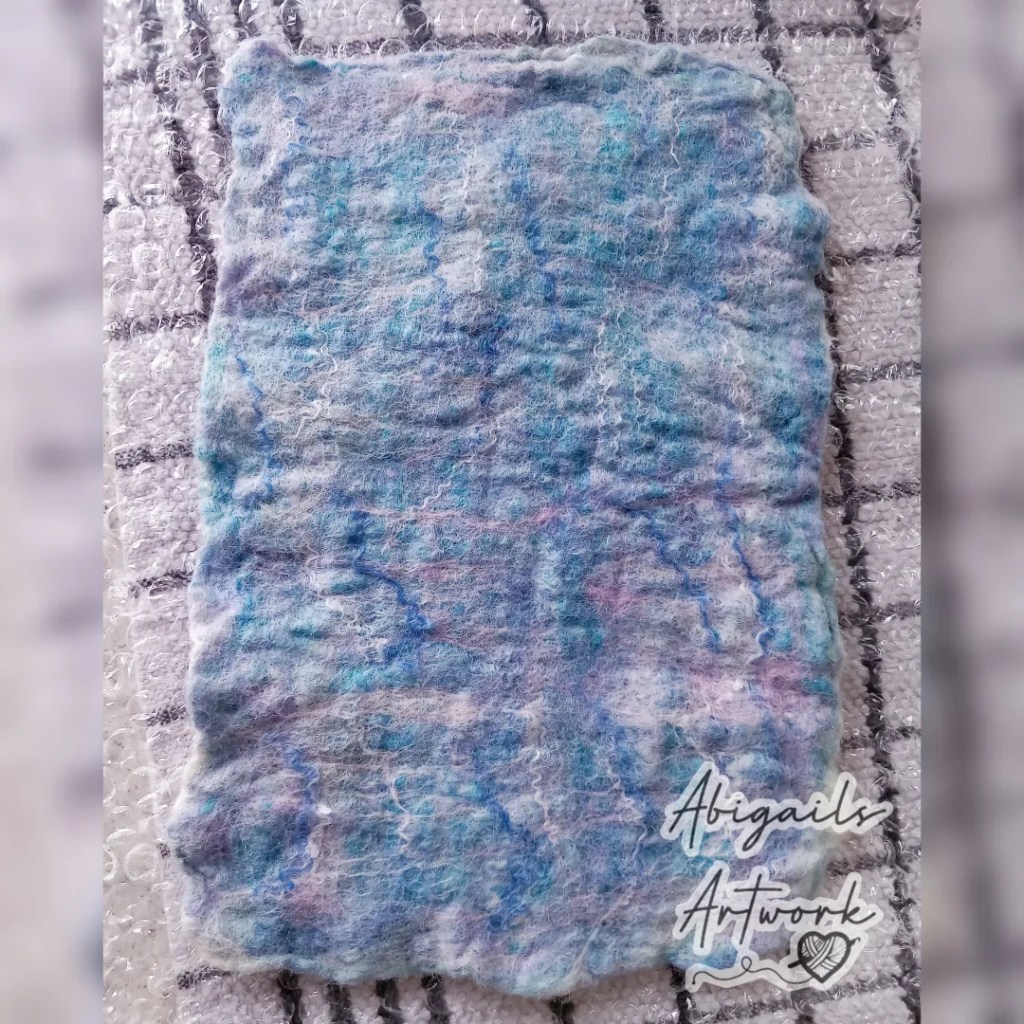
After you’ve done the 200 total rolls, open up the bubble wrap again and if you can pinch fibres apart then it’s still not felted enough and you will have to continue rolling in sets of 50. If you can’t pinch any fibres, then you can move onto finishing the felt.
Fulling
Finishing the felt (aka fulling) can be done in a few different ways and it really depends on how much control you want over the final shape, size and texture.
- For a more organic shape, you can do a technique that can be perceived as aggressive or stress relieving! It basically involves you shocking the fibres by being a bit mean… I like to start by rolling the piece around in my hands like I’m rolling a ball of dough whilst alternating hot and cold water – temperature changes and friction help shock the fibres. Make sure you don’t do this for too long though otherwise any stray edges might felt themselves together in the wrong place. Then, I move onto ringing it out and launching it at the worktop. Yes, you read that right, you literally crumple it up and throw it hard at the worktop multiple times. If you’re doing it right, you’ll start to see changes in the piece very quickly. The piece thickens up especially the edges and you start to get small puffing on the felt. The shape shrinks in different directions so it doesn’t have straight edges, which works so well with organic subjects.
- The other method I find takes a bit longer but gives more control. With the felt still in the bubble wrap, use your hand to continue rubbing over areas gently. The areas you concentrate on will shrink and thicken, so if I have a corner that is a bit elongated, I can concentrate on “pulling” that corner back in line by using the soapy bubble wrap to rub that corner in the direction from its longest point toward the middle of the felt. Eventually you will have a thicker and slightly smaller piece of felt with neat edges.

What about cutting felt to shape?
I don’t particularly like cutting felt to shape as I find, especially if the piece is handled, the edge never stays how it was cut and ends up fraying plus fulling gives felt the stability it needs especially for the type of artwork I use it for.
Rinsing and Drying
Lastly, rinse your felt so it’s no longer filled with suds and leave it on a radiator/washing line or airer to dry for a day. I hang mine on our oven handle if we’ve recently used it too as it makes use of the residual heat to dry the felt.
Beware of pests and birds if you are hanging your felt outside! I have heard too many horror stories of moth and carpet beetle infestations and birds pooing on freshly felted pieces. All of mine officially go indoors to dry every single time!
I hope this helps someone take up the art of wet felting or at the very least appreciate the works of those who do!
As always, if you have any questions about this process then ust drop me a message either on my contact page here, or through my Etsy store.
…and if you made it this far, from my toes to my soapy fingertips – thank you.

Leave a reply to Creative Recycling Ideas for Scrap Wool and Threads – AbigailsArtwork Cancel reply