

Ah hello again!
On the last post I covered the basics of wet felting without all the expensive frills. This tutorial goes hand in hand with wet felting, so I couldn’t really do one without the other.
Needle felting.
Now lets say you managed to get a really good basic shape and blocks of colour with your wet felting but want to take it that step further and give it an overhaul with detail, then needle felting is for you. It is basically the art of stabbing fibers into other fibres to matt them together.

For this, you WILL need at least one specialist tool, but don’t worry too much, it is thankfully readily available and wont break the bank:
- Felting Needles (specialist tool in different gauges, as a beginner it will be easier to start with a multi-pack that includes a variety of types/ gauges)
- Needle Holder and Leather Finger Guards (optional, but highly recommended for beginners)
- Roving
- Yarns (optional – if using, choose non-synthetic yarns for a better result)
- Angelina Fibres (optional)
I did a very short TikTok video on needle felting lightly rolled balls of roving to a wet felted piece a while back, it’s here if you’d like to take a look.
These specialist needles have really tiny barbs along the stem which hold onto individual roving fibres that you’re stabbing through your flat wet felted piece and then they let them go as you pull the needle out, so repeatedly jabbing at the fibres onto your wet felted piece basically gets all the fibres in a big tangle – and there you have it felt.
Layers can and should be built up gradually when needle felting, as unlike wet felting, if you make a small mistake you can prize it off with a little careful persuasion. Also, building it gradually means that the needle is less likely to snap under the strain.
Felting Needle Types and Gauges
Now just like most other textiles equipment, there are different types and also different number gauges for all the types of felting.
Needle Types:
- Star
- Triangle
- Spiral/Twisted
I haven’t really found a huge difference between the types of needles, in my mind they’re all some form of thin stick with barbs on them so they all end up doing the same job for the type of felting I do. But, if you’re thinking of needle felting 3d sculptures, its worth going with the star shaped needles for more durability and barbs all around. My typical go to needle, is the trusty triangle.
Needle Gauges:
- 32 – Thickest needle
- 36
- 38
- 40
- 42 – Thinnest needle
The gauges help you choose the best needle size for the fibres you’re working with. the thicker the needle, the better it is at working with thicker or fuller fibres (coarse roving). Ironically, the thickest needle is the smallest number – go figure!
It can also be useful to start with a 32 gauge and work your way up (or down, I should say) to a 42 for very fine detail work. Most of my flat detailed work ends up being felting with a 42, but, if I were to do the same detail work but felt it onto a denim jacket for example, I would be better off using a lower gauge needle to push the denim strands aside on each jab rather than breaking the denim fibres by piercing through them with a 42 gauge.
It all really depends on what work you’re creating to what needle will work best and trial and error isn’t always your enemy with things like this.
How to hold the needle
Firstly, there is an art to holding a felting needle.
You can get needle holders to help with your grip if you find grasping a thin metal needle uncomfortable or difficult. Either way, holder or not, you should make sure that when you are using your needle, it should be going straight in the fibres and straight back out again at the same angle. Do not try to bend your needle to move fibres out of the way or to curve around your work, this will weaken your needle and snap it.
The other thing to bear in mind is trying not to stab yourself! I’m pretty experienced at needle felting and even so, I still end up with the odd jab when my concentration slips. The needles are super sharp and they will pierce skin easily, for beginners I highly recommend using the leather finger covers on your non-dominant hand (the hand holding the work, not the hand holding the needle) you can also use a thimble if you don’t have the leather guards but just be aware a thimble is likely to blunt or break the needle tip too.
Padding under your work
Before you get stuck in, you will need to protect both your work surface and needles by using a barrier like a felting pad. I recommend foam pads or sponges for beginners as they are usually cheap and easy to find, but over time they will decompress (usually right in the middle) and you will find yourself wanting to have something a bit more sturdy. I have used bristle matts before which look like a big brush with plastic bristles sticking up, I find these to be helpful when working with sculptural needle felted objects and they hold your creation in place a bit better whilst you jab at it.
But the most eco friendly, cheapest and long lasting felting pad, is actually one you can make yourself. A thick needle felted pad. You should make it at least as deep as the barbed part of your felting needles so that your needle never hits a hard surface and snaps.
Needle Felting Flatwork
Needle felting is quite an intuitive art so there’s not really a lot to it once you get going, I would recommend for beginners to start with a flat piece as opposed to felting 3D to start with. This is so you can become used to the tools and the feel for them before your concentration is torn with building 3D foundations and layering.
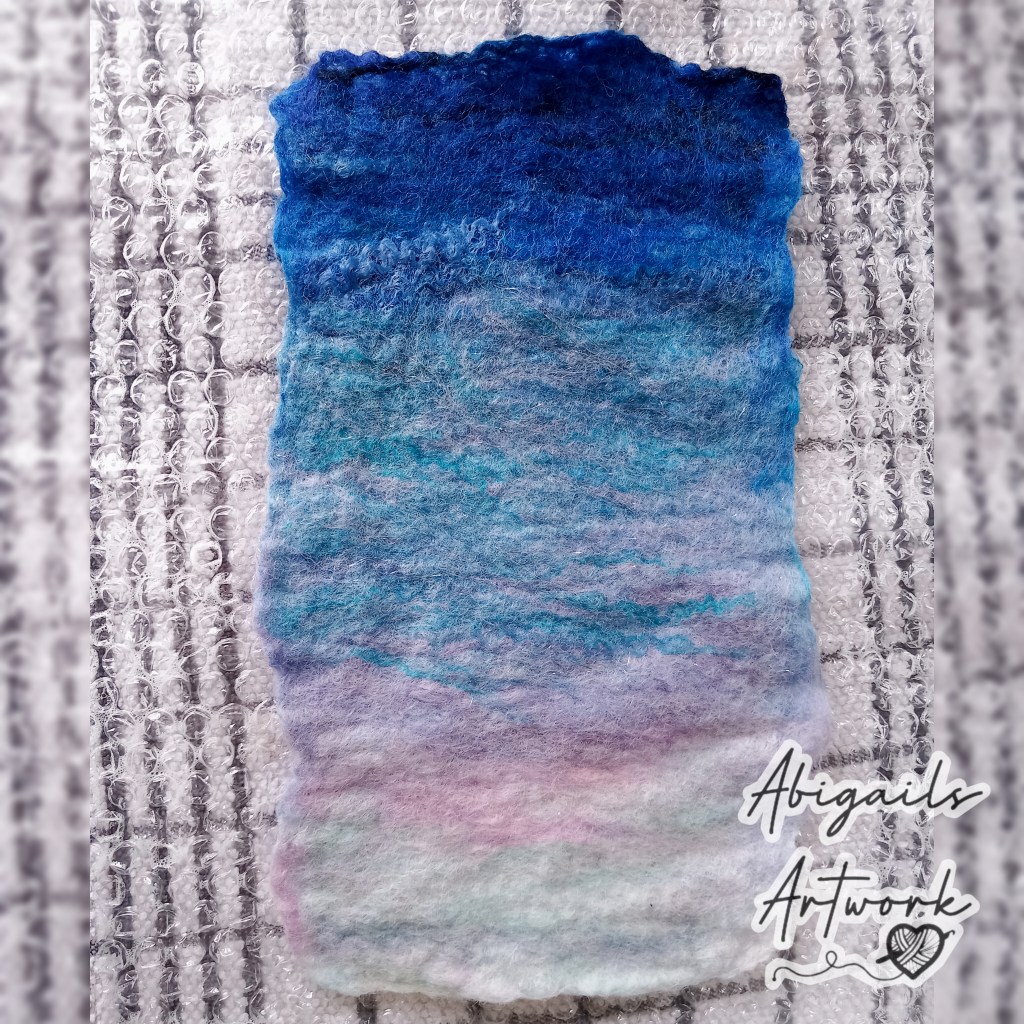
Place your wet felted work (that’s already dried) onto your felting pad.
Take a small clump/strand of roving of your colour choice (it doesn’t need to be fanned out like when we wet felted in my last tutorial, but you should still gently tease the fibres apart instead of cutting off what you need!)
Choose your desired needle, remember the aim is to work from thickest to thinnest needles and also to take into account the coarseness of the roving, if your doing a detailed piece with merino for example, you could start at a 40 gauge needle and then switch to a 42 gauge later on. But use this time to figure out what works best for you and try a few different needle combinations on different areas of your work to see how the final result varies. Whilst not using your needle, keep it in a safe place to avoid nasty injuries (I use a handmade pin cushion my mother made for me that works a treat!)
Place the clump or strand of roving where you want it on your work.
This is where, if you’re not yet confident you won’t poke yourself, wear the leather guards on the fingertips you are holding your roving or your work against the pad with.
Slowly start to press the needle through the roving and into your wet felted piece. You don’t need to push all the way through the pad, just push the needle enough that the barbs are catching the fibres and pushing them to the backside of your wet felted piece.
Continue slowly and carefully stabbing to push the layers of roving into the wet felted piece and soon you will find that the roving begins to stay in place and “stick” to your work. You don’t need to go at full speed, speed will come with time, instead, get a feel for the depth you need to push and keep reminding yourself to poke the needle in the same angle that you take it out. Remember to keep clear of any extra fingers that are holding close to where you are needle felting, they can sometimes be magnets to sharp things when your concentration drifts! You will soon find your roving colours start to build up nicely and that you get to grips with needle felting quite quickly!
You will notice that the longer you spend poking the felt, it will start to become less airy and spongy and take on a denser quality. When this starts to happen, this is the time you can go up needle sizes to a thinner needle. The thinner your needles, the less noticeable the little needle holes in your work will be (if you want them to be even less noticeable I have a trick for that too at the end!)
Now that you are getting the hang of it, why not try needle felting curved lines, straight lines and simple shapes or try experimenting with layering different colour roving. You can also hand mix/ blend roving colours without specialised equipment by just using your hands – pull a small clump of the colours you want to mix and hold them together (all laying in the same direction) in one hand, then with your second hand gently pull out the fibres from the top of the mixture of colours in an upward direction and place them in your first hand with the length of the fibres still laying in the same direction. Continue pulling, then placing, then pulling and placing (you get the idea…) Soon, all the fibre colours will be mixed together and the fibres will also still all be laying in the same direction making it easier to felt and avoiding a matted, unmixed clump of roving.
If you want to avoid doing this, a quicker way to mix fibres can be done with a carding brush, mixing board or dog brush – I do have one TikTok video on this here, but I will touch on this technique in a blog another time.
And BRAVO, you now have the basics to needle felting.
3D Needle Felting
If you’d like to try 3D needle felting there are a few more bits and bobs you’ll need depending on what type of sculpture you’re aiming for.
You can of course needle felt 3D with solid roving with the techniques used above, but on bigger pieces this will take lots of time and the end product is likely to be fairly heavy.
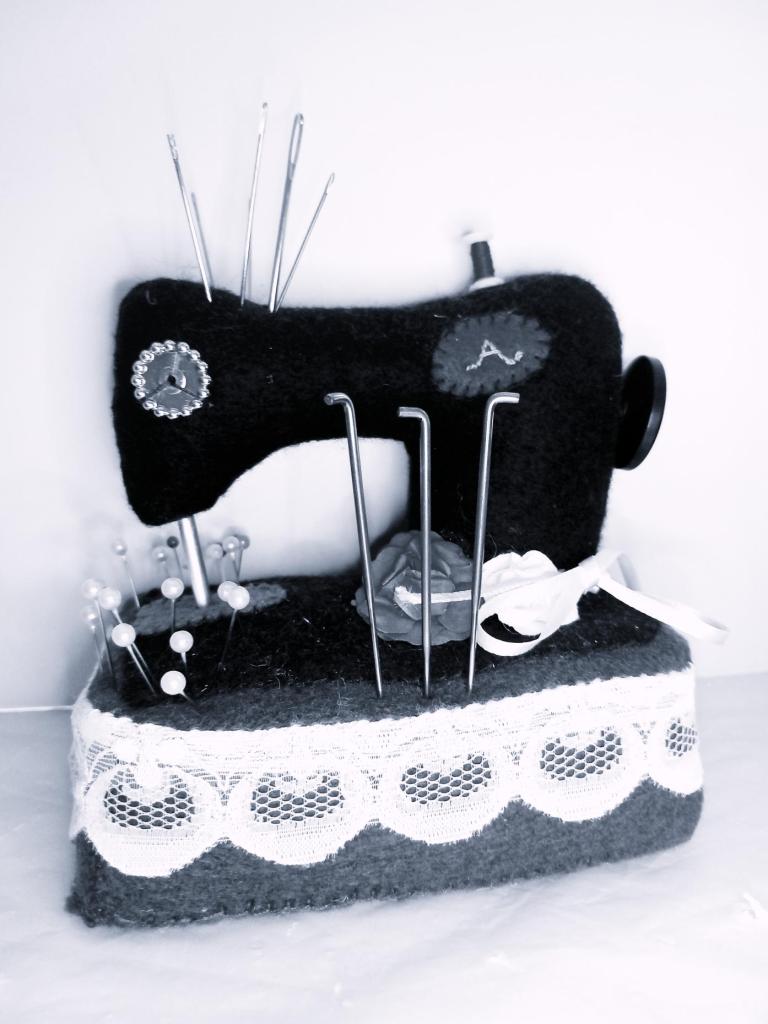
Some artists like to use Styrofoam bases for big shapes like doodle balls or like the mannequin head I created… it still needs a name by the way if anyone has any suggestions!


Other artists, like to use things like pipe cleaners or metal wire to build up the body structure of their miniature characters.
I personally have even toyed around with the idea of using clay with holes the felted through to combine these natural materials but sadly, I don’t have access to clay, glazes or a kiln.
Really, the world is your oyster when it comes to needle felting, because as long as it can be secured and the fibres poked at, then its likely to hold and work – and really its just using the same techniques for flat felting only with different working conditions. You may either choose to work with the same felting pad, a brush felting pad or no felting pad at all but all you’re aiming to do it matt the fibres into each other to create a solid felt structure by poking it.
I hope you have fun with this and don’t forget to drop a comment with your results or any questions you have.
Thank you so much, AbigailsArtwork x

Leave a reply to Creative Recycling Ideas for Scrap Wool and Threads – AbigailsArtwork Cancel reply